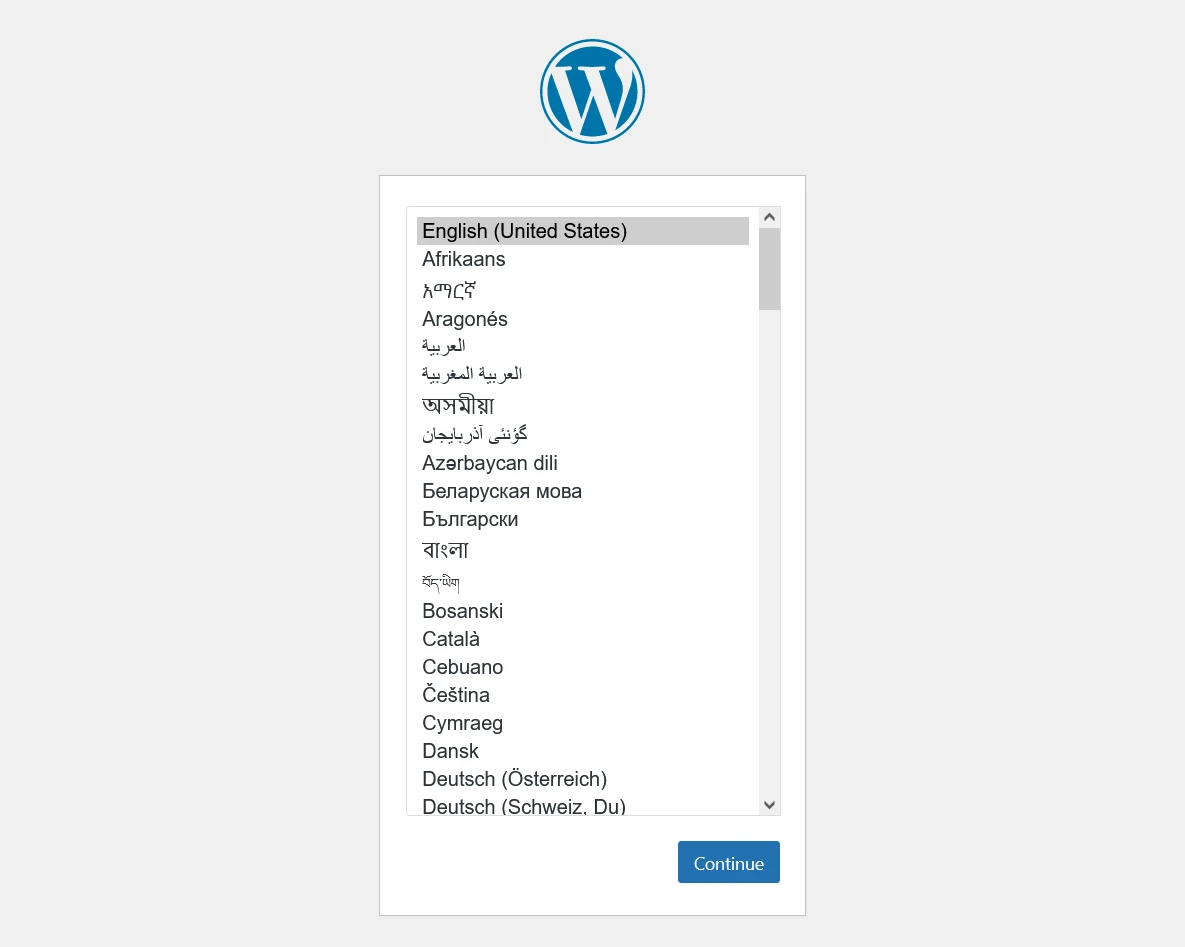
Docker has surged in popularity as a containerization platform, revolutionizing how applications are developed and deployed.
Its widespread adoption is driven by the speed it brings to the development lifecycle.
The following command lets you run a working WordPress container:
docker run wordpress:latest
Docker’s benefits lie in its ability to isolate applications and their dependencies,
ensuring consistent deployment across diverse environments.
This approach enhances portability, scalability, and resource efficiency while providing developers with a reliable and reproducible platform for easy collaboration.
This introduction serves as a starting point for a single instance WordPress site.
Modify the official Image
Starting point will be the files from the official github repository.
In the latest/php8.2/fpm folder we will find the Dockerfile, docker-entrypoint and the WordPress configuration.
The latter we modify to disable the wp-cron for performance reasons:
...
/_ That's all, stop editing! Happy publishing. _/
define( 'WP_DISABLE_CRON', true );
...
Build our custom Image
We build and tag the image with the command:
docker build --no-cache -t lemsit/wordpress -f Dockerfile wordpress
NGINX configuration
Next we need to configure NGINX to proxy all requests to the WordPress container.
The configuration is based on the 10up WordPress-Server-Configs GitHub repository.
Microcaching
Microcaching refers to a technique where small amounts of dynamic content are cached for a very short amount of time.
The idea is to cache dynamic content for a brief period, typically for some milliseconds,
to serve subsequent requests without hitting the backend server.
This is different from traditional caching, where typically static content is cached for longer durations.
In the nginx.conf we create a section for the microcache:
 1
 2
 3
 4
 5
 6
 7
 8
 9
10
11
12
13
14
15
16
17
18
19
20
21
22
23
24
25
26
27
28
29
30
31
32
33
34
35
36
37
38
39
40
41
42
43
44
| user www-data;
worker_processes auto;
error_log /var/log/nginx/error.log warn;
pid /var/run/nginx.pid;
events {
worker_connections 1024;
}
http {
include /etc/nginx/mime.types;
default_type application/octet-stream;
log_format main '$remote_addr - $remote_user [$time_local] "$request" '
'$status $body_bytes_sent "$http_referer" '
'"$http_user_agent" "$http_x_forwarded_for"';
access_log /var/log/nginx/access.log main;
# Microcaching
fastcgi_cache_path /etc/nginx/cache levels=1:2 keys_zone=microcache:20m inactive=60m max_size=200m;
fastcgi_cache_key "$scheme://$host$request_uri";
fastcgi_ignore_headers Cache-Control Expires;
sendfile on;
#tcp_nopush on;
keepalive_timeout 65;
gzip on;
gzip_disable "msie6";
gzip_vary on;
gzip_proxied any;
gzip_comp_level 6;
gzip_buffers 16 8k;
gzip_types text/plain text/css application/json application/x-javascript text/xml application/xml application/xml+rss text/javascript;
server_names_hash_bucket_size 64;
include /etc/nginx/conf.d/*.conf;
}
|
nginx-wordpress.conf
Next we need a server configuration for NGINX to proxy our request to the WordPress container.
This is done in line 40:
 1
 2
 3
 4
 5
 6
 7
 8
 9
10
11
12
13
14
15
16
17
18
19
20
21
22
23
24
25
26
27
28
29
30
31
32
33
34
35
36
37
38
39
40
41
42
43
44
45
46
47
48
49
50
51
52
53
54
55
56
57
58
59
60
61
62
63
64
65
66
67
68
69
70
71
72
73
74
75
76
77
78
79
80
81
82
83
84
85
86
87
88
89
90
91
92
93
94
95
| server {
listen 80 default_server;
server_name www.lemsit.de lemsit.de lemsit_wordpress;
root /var/www/html;
index index.php;
error_log /var/log/nginx/error.log;
access_log /var/log/nginx/access.log;
if (!-e $request_filename) {
rewrite /wp-admin$ $scheme://$host$uri/ permanent;
rewrite ^(/[^/]+)?(/wp-.*) $2 last;
rewrite ^(/[^/]+)?(/.*\.php) $2 last;
}
location / {
try_files $uri $uri/ /index.php?$args ;
}
# Microcaching
#Cache everything by default
set $no_cache 0;
#Don't cache logged in users or commenters
if ( $http_cookie ~* "comment_author_|wordpress_(?!test_cookie)|wp-postpass_" ) {
set $no_cache 1;
}
#Don't cache the following URLs
if ($request_uri ~* "/(wp-admin/|wp-login.php)")
{
set $no_cache 1;
}
# /end Microcaching
location ~ \.php$ {
try_files $uri =404;
fastcgi_split_path_info ^(.+\.php)(/.+)$;
#NOTE: You should have "cgi.fix_pathinfo = 0;" in php.ini
include /etc/nginx/fastcgi_params;
# If using a socket...
#fastcgi_pass unix:/tmp/php-fpm.sock;;
# If using TCP/IP...
fastcgi_pass wordpress:9000;
fastcgi_index index.php;
fastcgi_param SCRIPT_FILENAME $document_root$fastcgi_script_name;
# Microcaching
#matches keys_zone in fastcgi_cache_path
fastcgi_cache microcache;
#don't serve pages defined earlier
fastcgi_cache_bypass $no_cache;
#don't cache pages defined earlier
fastcgi_no_cache $no_cache;
#defines the default cache time
fastcgi_cache_valid any 60s;
#unsure what the impacts of this variable is
fastcgi_max_temp_file_size 2M;
#Use stale cache items while updating in the background
fastcgi_cache_use_stale updating error timeout invalid_header http_500;
fastcgi_cache_lock on;
fastcgi_cache_lock_timeout 10s;
add_header X-Cache $upstream_cache_status;
# /end Microcaching
}
# Set expires time for browser caching for media files
location ~* ^.+\.(ogg|ogv|svg|svgz|eot|otf|woff|mp4|ttf|rss|atom|jpg|jpeg|gif|png|ico|zip|tgz|gz|rar|bz2|doc|xls|exe|ppt|tar|mid|midi|wav|bmp|rtf)$ {
access_log off; log_not_found off; expires max;
}
# Set expires time for js and css files
location ~* \.(js|css)$ {
expires 24h;
add_header Pragma public;
add_header Cache-Control "public";
log_not_found off;
}
# Block serving of hidden files
location ~ /\. { deny all; access_log off; log_not_found off; }
# This should match upload_max_filesize in php.ini
client_max_body_size 20M;
}
|
Building the stack
To be able to run our Image with Docker Compose or Docker Swarm, we have to create our docker-compose.yaml.
We need to define 4 services:
- MariaDB
- NGINX
- WordPress
- cron
 1
 2
 3
 4
 5
 6
 7
 8
 9
10
11
12
13
14
15
16
17
18
19
20
21
22
23
24
| version: "3.8"
services:
mariadb:
image: mariadb:latest
restart: always
environment: - MARIADB_ROOT_PASSWORD=secret - MARIADB_DATABASE=wordpress - MARIADB_USER=wordpress - MARIADB_PASSWORD=secret
volumes: - /srv/mariadb/:/var/lib/mysql
wordpress:
image: lemsit/wordpress
restart: always
environment: - WORDPRESS_DB_HOST=mariadb:3306 - WORDPRESS_DB_USER=wordpress - WORDPRESS_DB_PASSWORD=secret - WORDPRESS_DB_NAME=wordpress
volumes: - /srv/wordpress/:/var/www/html
nginx:
image: nginx:latest
ports: - 80:80
volumes: - /srv/docker/nginx.conf:/etc/nginx/nginx.conf - /srv/docker/nginx-wordpress.conf:/etc/nginx/conf.d/default.conf - /srv/wordpress/:/var/www/html
cron:
image: alpine:3.18
command: crond -f -d 8
volumes: - "/srv/docker/crontab:/etc/crontabs/root:z"
|
Running it
Finally let the magic happen.
Starting the stack requires to run:
Stopping:
Enjoy your installation at localhost:80.

Final thoughts
As stated in the introduction, this setup should be considered an example to run a slightly optimized WordPress on Docker with NGINX.
It is not meant for a production site, as it does not cover important aspects of securing your traffic with TLS
or running in a cluster for resiliance.
